RIVERS
Back to Docks
Making WATER

The docks were just the first step in creating some urban river terrain that could span the length of the board.  I finally got around to creating three modular river pieces, 1 straight and 2 angled.  Building on a Fiberboard base (which can warp, so I recommend sheet plastic now), the sides are made of lengths of wood 1 1/2 inches wide by 1 inch high, and covered with vinyl tile pattern (I picked up a roll of this stuff from a Christmas Village supply store- they use it for quick roads).  The raised edge is made from 3/4" Cove Mold (basically a square length of wood with a 1/4 circle concave cut out of it).  You can pick up the cove molding in hardware/DIY shops.  I glued the cove molding so that about half of it was overhanging the edge- this causes a stronger sense of depth in the river, and helps hide the fact that it's really only about an inch deep from the bottom of the cove molding.
 
The angle pieces were a pain to make, as I wanted the width of the river to match up at the ends, so I had to build in a slight angle at one end of the piece so everything would match up.  The two angle pieces are identical, so I can arrange them in sequence to form a wide, 90 turn (as seen here), or put them end to end with a straight section between to form a jog.
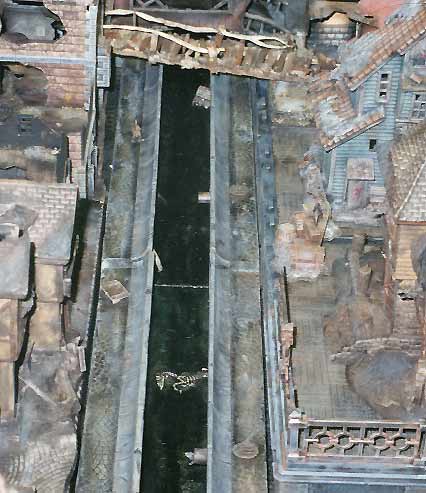
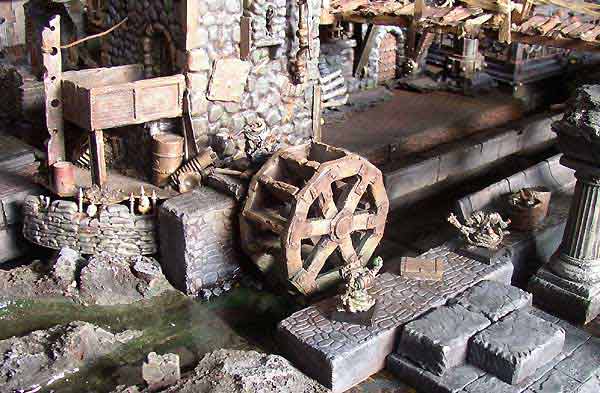
Here you can see the river pieces nestled in between some of the foundation base plates.  The end result is that the river looks like it is below ground level, even though everything's sitting on top of the table.  The river sections are detailed with discarded crates and drums, half a horse skeleton, grates made of orc shields with slots cut in them, drain pipes made from brass pipe couplers, and the occasional stray rat.


My most recent addition to the river sections is a scratch built water wheel.  I split my own timbers off a piece of cedar lumber with a carving knife.  The paddles are cut from some wood shims.  The brackets are made from cardboard, with cardboard rivets punched out with a 1/16" hole punch.  To get the shape right, I used the lid off a yogurt container to act as a form for the wood pieces.  Because the yogurt lid is kind of waxy, CA glue won't stick to it, so I could be really messy when gluing the bits of wood together.  Making the pieces by hand is fun and easy (just cut the angles until they fit together), and gives a much more rustic look than store-bought wood.

I primed the pieces black and used drybrushing and sponge painting to bring out the stone work.  I used greys on the raised edge, but more earth tones on the stone for contrast.  The "water" was painted with various shades of green, then coated over with a layer of Woodland Scenics instant water.  The dark colors help add to the sense of depth.

Back to Mordheim scenery
Back to Necromundicon